


FESTIVE DIYS
Crafty Holiday Tree
DIY by Elisa Lessard @scrappywifeblog
‘Tis the season for holiday crafting! Why not celebrate all things crafty and creative with a DIY Crafty Holiday Tree? This tree is created using items that you most likely have on hand including Happy Planner discs, washi tape, clear Happy Planner stickers, and any other crafty item you can find. Be creative and be thrifty by highlighting the colorful supplies that fill your craft space all year long!
Supplies:
- Clear Happy Planner stickers
- Laminator & laminating pouch
- Silver floral wire
- Colorful beads
- Washi Tape
- Wood slices
- White gesso or white acrylic paint
- Holiday tree with lights
Directions:
Step 1: Lay out your clear Happy Planner stickers of choice on the inside of a laminating sheet. I used the Value Pack Stickers - Miss Maker. Fill the sheet with as many stickers as you can but remember to leave a little space so that you can carefully fussy cut the laminated stickers. After running the laminating pouch through your laminator, cut out all the stickers, leaving a small clear border around each sticker.
Step 2: Use a safety pin or small metal pick (I used the metal weeding tool from my cutting machine) and poke a hole at the top of each sticker. Cut about 5 inches of floral wire, threading one end through the sticker hole, and winding it tight to secure the loop.
Step 3: String your colorful beads on the top of each sticker ornament. Once you have added 3-5 beads, create a small loop with your fingers at the top of the beads. Wind the wire around itself and trim off any extra. This should leave a loop at the top to hang your sticker ornament on the tree. (Note: Because you used clear stickers, be sure to position these ornaments near the lights on your tree…this is how they really shine!)
Step 4: Have a few wood slices on hand? Paint one side of the wood slice with the white gesso. I prefer gesso because it is not shiny, and I enjoy the matte white background.
Step 5: Once the wood slices have dried, decorate with your favorite clear stickers! Consider sticking to a theme so that all your ornaments coordinate.
Step 6: Assemble your Holiday tree! Hang your ornaments and continue to decorate it with other craft supplies that you have in your creative space. Consider using washi tape as flowing ribbons and maybe even a glue gun as a fun tree topper. The sky is the limit! Have fun getting creative and celebrating your crafty side!

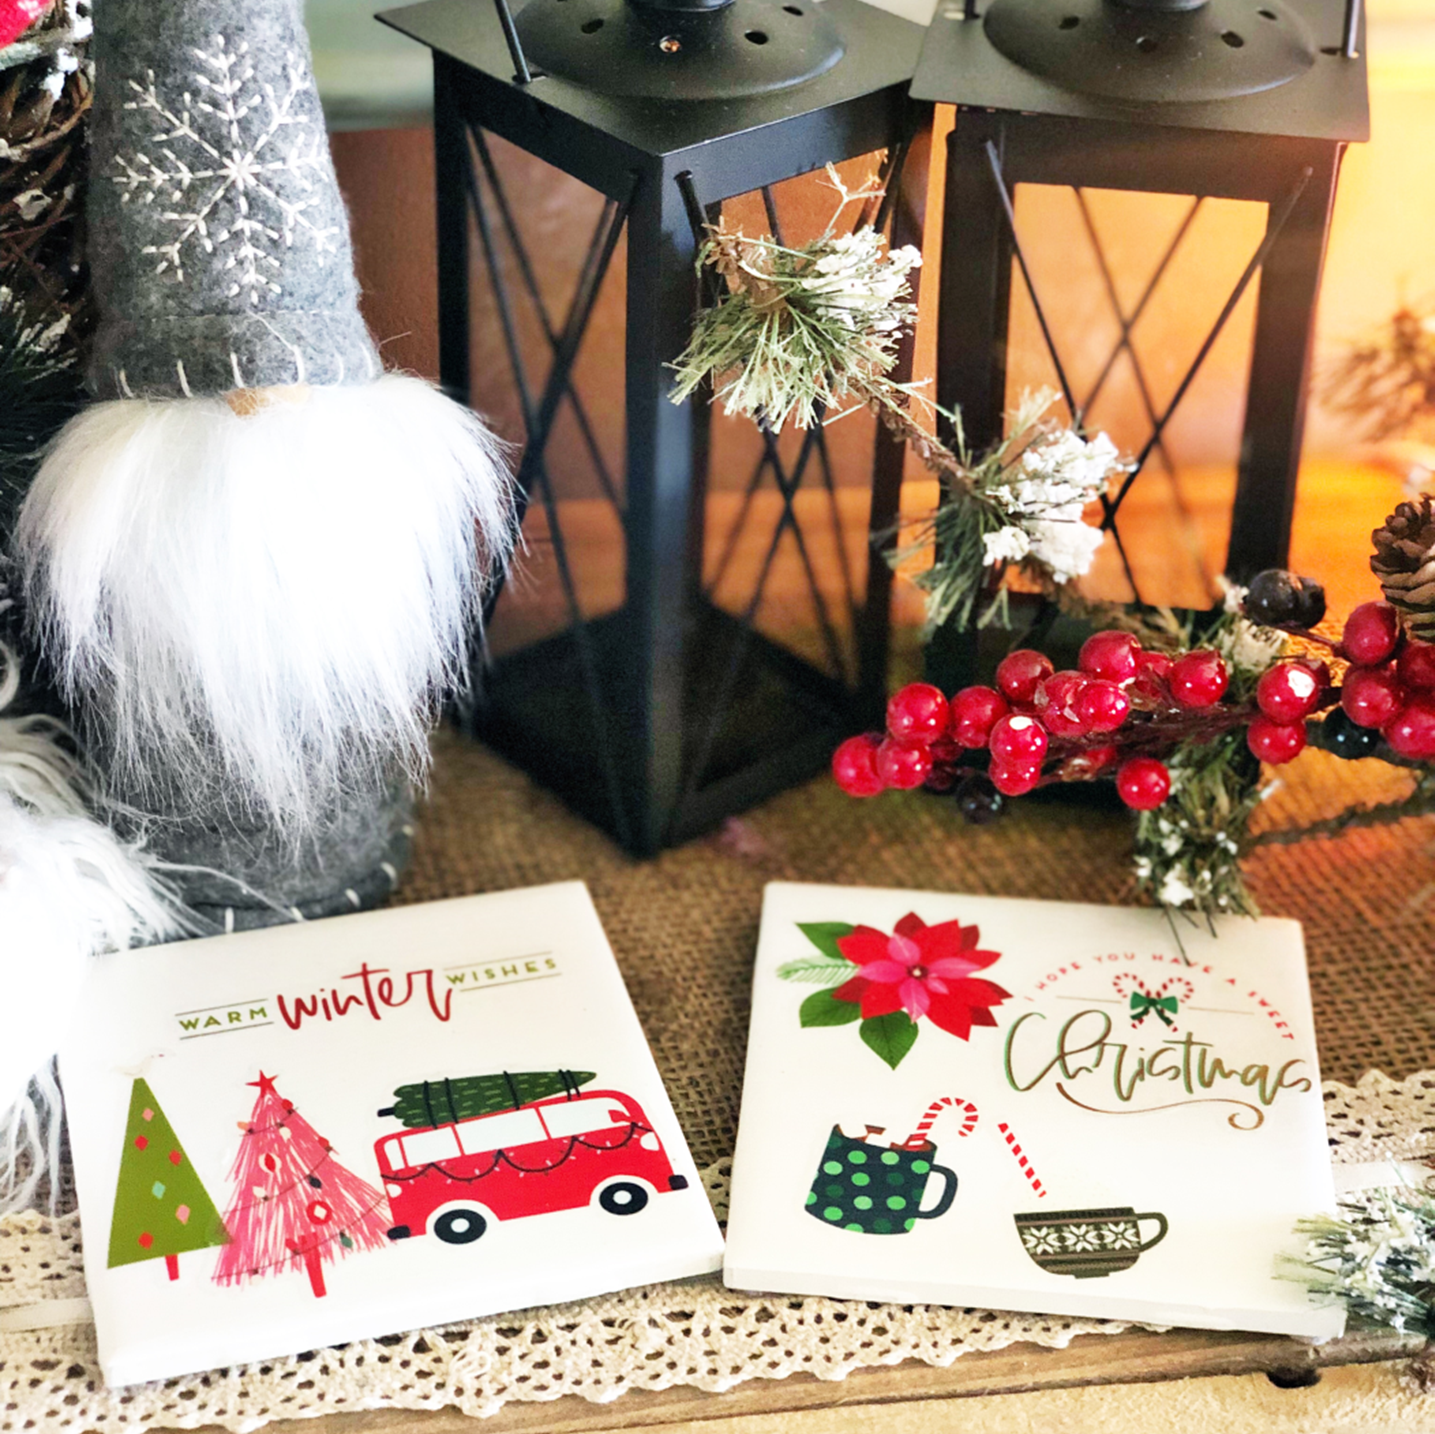
Cozy Holiday Coasters
DIY by Hannah Schoonover @hanzplans
These Holiday coasters are the perfect festive craft to make with your family or a group of friends! They make for a perfect gift for the holidays or to place your favorite holiday mug on top of.
What you will need:
- 4” x 4” White ceramic wall tile
- Mod Podge
- Sponge brush
- Round felt pads
- Happy Planner Stickers
Directions:
- Decorate tile with stickers
- Paint one layer of mod podge over the tile once it’s decorated how you want it
- Once it’s dry, place a round felt pad on all four corners on the bottom of the tile
⠀

Festive Drink Toppers
DIY by Diana Siguas @planningplanningplanning
Creating DIY items for a Holiday party makes it feel EXTRA special! Simply by adding some beautiful holiday stickers to any decorative paper straws will add a festive touch to any Holiday party. I’ll be bringing these to a gathering with friends during the Holidays. They make for the perfect garnish in your Holiday drinks this season!
What you will need:
- Decorative straws (I used gold ones)
- Seasonal stickers
- White cardstock
- Colored cardstock optional
- Glitter glue
- Glue gun
Directions:
- Place your fave stickers on white cardstock. You can also use colored cardstock of your choice.
- Cut around your sticker shapes leaving space around the border
- Glue cardstock cutout onto your paper straw
- Add glitter glue around the border to create a sparkly effect. Let dry for at least an hour
- Toss straw in your favorite drink and sip!

Happy New Year Banner
DIY by Thanh Vo @makeitsweetandneat
There’s nothing brighter that says HAPPY NEW YEAR than ringing it in with The Happy Planner MAMBI sticks. I’ve always found New Year’s decorations basic, but this year, I’m bringing the color! What a wonderful way to welcome 2022 with a lot of fun!
What you will need:
- MAMBI Sticks
- Your favorite New Year themed stickers from The Happy Planner
- Discs
- Cardstock paper
- Wooden dowels
- Twine (black Baker's twine shown)
- Paper trimmer
- Adhesive (liquid glue or double-sided tape)
- Hot glue gun
- Enamel dots (black sparkle shown)
- Scissors
- Die cuts/die cut machine (optional)
- Water brush
- Ink
- Dimensional double sided foam tape
Directions:
For Banner
- Die cut banners in die cut machine OR use scissors and paper trimmer to cut banners to size
- Place MAMBI Sticks Alphabets on cardstock banner pieces and adhere all layers
- To begin assembling banner, start by tying a knot around the first planner disc with the twine
- Then use hot glue gun to adhere each banner letter down
- Continue to hot glue each banner letter and complete by adding in planner discs as needed
For Card
- Splatter ink onto white cardstock using water brush and wait to dry
- Trim cardstock paper to preferred size (3.5in x 6in shown), score and fold for card base
- Trim all other cardstock pieces to size (die cut pink paper shown)
- Adhere all layers down, using dimensional foam tape as needed to give depth and dimension to card
- Complete card by adding enamel dots
For photo props
- Place stickers down to cardstock and trim as needed using paper trimmer and regular scissors
- Use hot glue gun to adhere to wooden dowels

Holiday Bookmarks
DIY by Keisha Dingle @ladyandherplans
Calling all my book loving planner babes!
I absolutely LOVE to read and the only thing that makes a good book better is a really CUTE bookmark! So, I thought it would be a great idea to combine my two favorite things, The Happy Planner Stickers and bookmarks!
Here’s what I used to create my personalized bookmarks:
- cardstock
- your favorite Happy Planner stickers
- hole punch (optional)
- bookmark tassels (optional)
- laminating machine (optional)
That’s It!
I love The Happy Planner x Spoonful of Faith Value Pack Stickers - Everyday on them. I'm totally obsessed with these bookmarks! You can use them for yourself or give them as gifts to the book lover in your life.

Memory Keeping Moments
DIY by Kailynn Harrison @kailynn_kay
One of my favorite things to do at Christmas time is to document memories we as a family make. It is important for me to cherish the time spent and to look back on those memories. You do not need anything “fancy” to make a memory book, simply items you have at home.
The inside cover of my book contains three box stickers from the new Value Pack Stickers – Merry Christmas in addition to my three children’s names. On December 1st, I will photograph each of my children and insert their pictures accordingly. I also will add their age and a few interesting facts about each one!
Supplies:
- Thin cardboard (i.e., cereal box)
- Cardstock or scrapbook paper
- The Happy Planner discs (color of your choice)
- The Happy Planner Value Pack Stickers – Merry Christmas
- The Happy Planner Uppercase Alphabet Letters- Red Foil
- The Happy Planner Christmas Classic Planner Companion
- The Happy Planner Classic Punch
- Cutting tool
- Adhesive
Directions:
- Cut the cardboard to your desired length. Measurements here are 4.5” x 7”
- Cut your desired paper to match your cover
- Punch cardboard and paper
- Adhere the paper to the cardboard- both the inside and outside covers
- Add your discs
- Decorate the inside
Tips:
- Punch cardboard and paper separate and then adhere together. Otherwise, the two will be too thick to punch.
- Use different sized paper to add interest


Be sure to use the hashtag #HPHolidayHub and tag us on Instagram @the_happy_planner if you try out any of these Holiday Hub Crafts. We love our planner community and wish you Happy Holidays!
The final DIY on this list would work great for a December Daily album! I know I’ve been working on mine and I am having to find a way to use two small field notes because I have too many stories to tell for just one of their books!
Leave a comment